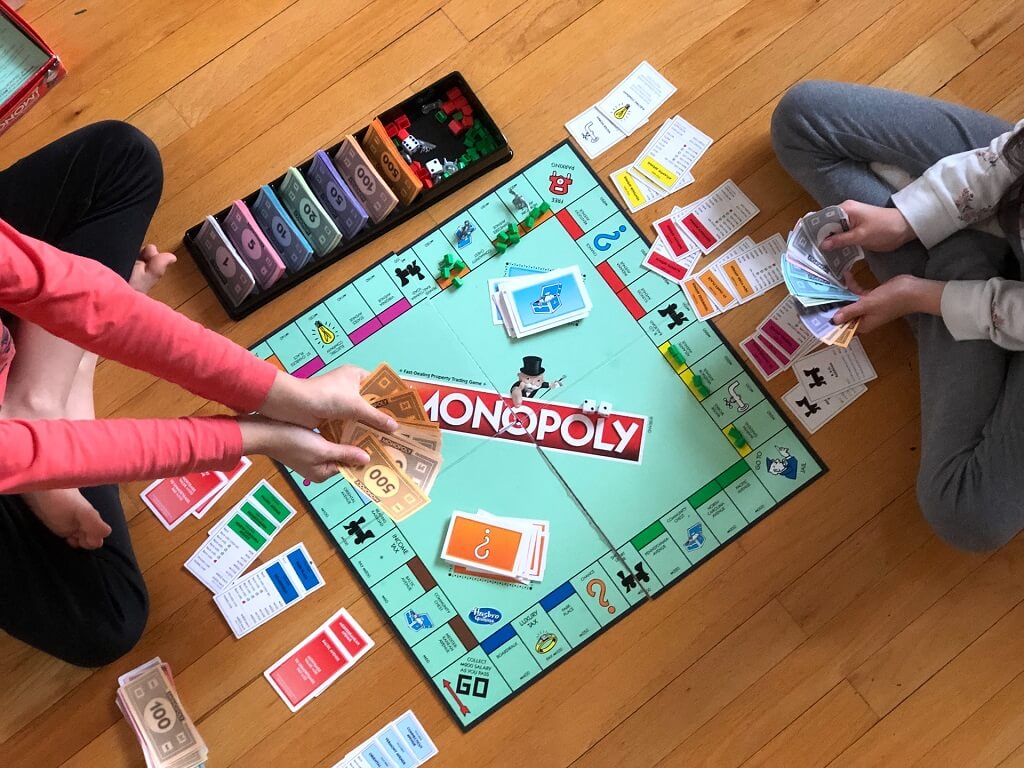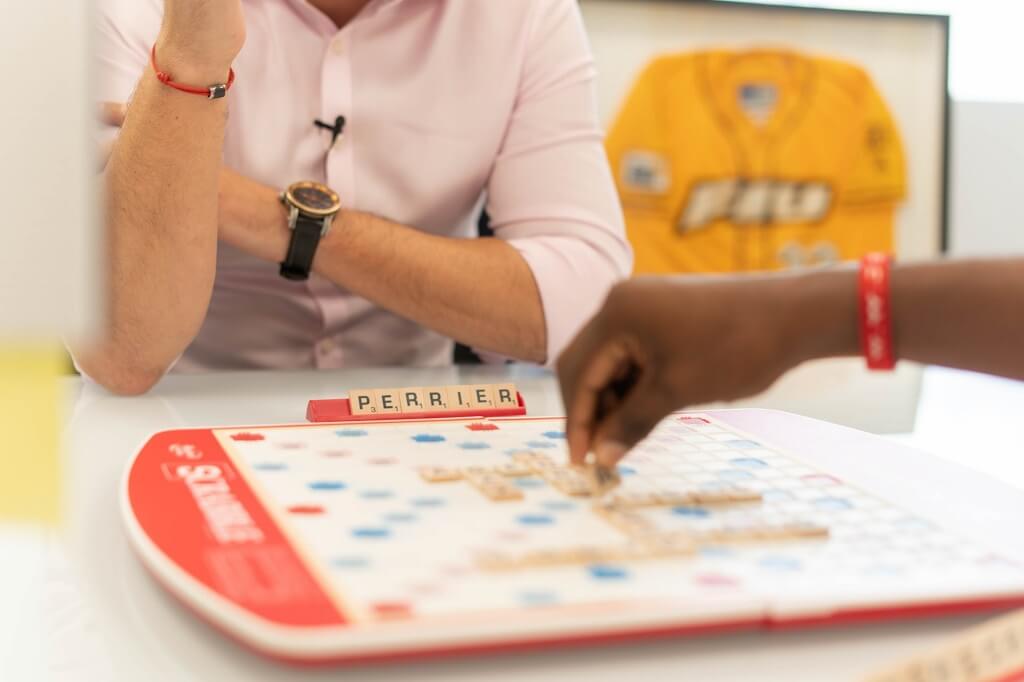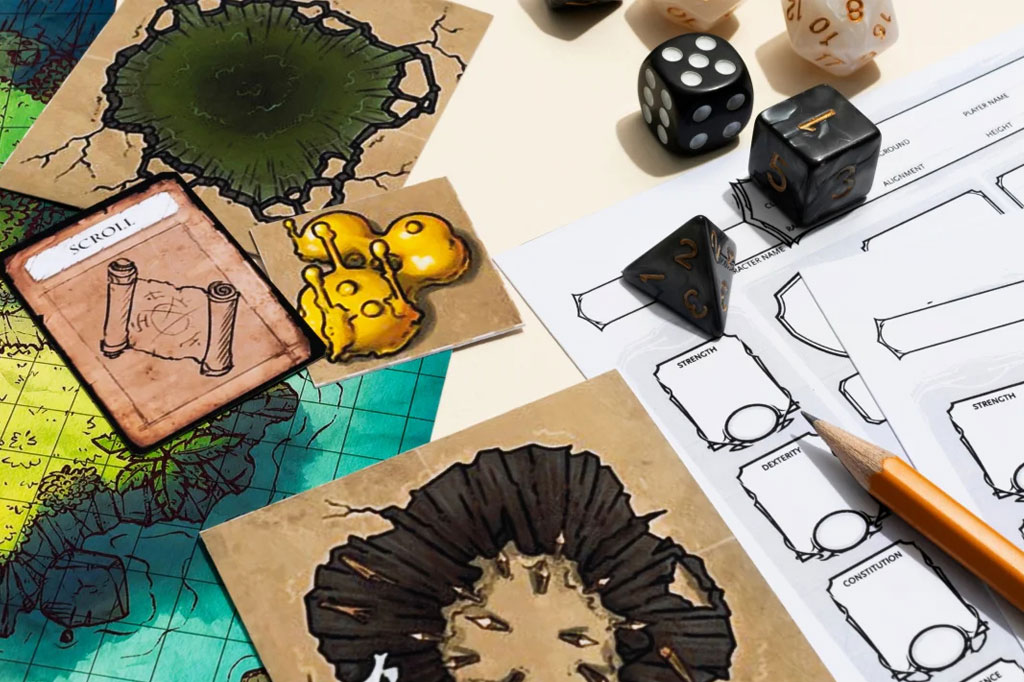
Whether you’re designing the game board, cards, rulebook, or packaging, proper preparation of artwork files ensures a smooth production process and a professional final product.
This guide outlines the key requirements for preparing and submitting your artwork files correctly. Adhering to these standards helps avoid production delays, color inconsistencies, and formatting issues.
Table of Contents
1. Accepted File Formats
We accept the following professional design file types:
- AI (Adobe Illustrator): Preferred for vector artwork such as logos, line illustrations, and dielines. It preserves scalability and precision.
- PSD (Adobe Photoshop): Ideal for complex raster graphics and photo-based designs. Ensure all layers are flattened or clearly labeled.
- PDF (Print-Ready): Recommended for final submission. It retains formatting and embeds fonts/images accurately. Make sure all layers are flattened and text is outlined.
Note: Always include linked images and fonts if submitting AI or PSD files separately.
2. Color Mode: CMYK Only
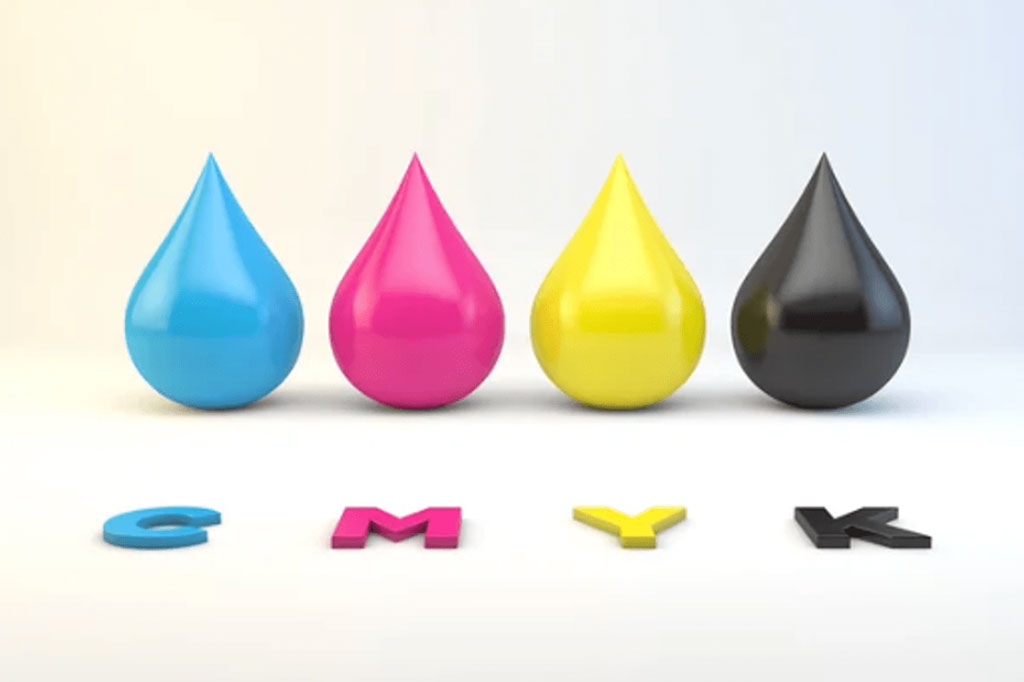
All artwork must be created or converted to CMYK (Cyan, Magenta, Yellow, Black) color mode.
CMYK is the standard for physical printing. Files submitted in RGB (Red, Green, Blue) may appear vibrant on screen but can result in dull or incorrect colors when printed. Always proof your work in CMYK to ensure accurate print colors.
3. Resolution: Minimum 300 DPI
To achieve sharp and professional print results, ensure all images and raster-based elements are at least 300 DPI (dots per inch) at actual size.
Lower-resolution images (e.g., 72 DPI or 150 DPI) may look fine on screen but will appear pixelated or blurry when printed. This applies to backgrounds, illustrations, and embedded photos.
4. Bleed Area: 3–5mm
A bleed is the area beyond the final cut edge of your printed piece. This prevents any unprinted edges from showing in the final product, especially when the design reaches the edge.
- Standard bleed requirement: Add a 3mm to 5mm bleed on all sides of your artwork to allow for trimming.
- Trim Line: The line where your design will be cut.
- Safe Zone: Make sure all essential text and graphics are placed at least 5mm inside the trim line to avoid being cut off.
Example: If your box lid measures 100mm x 150mm, the file size with bleed should be 106mm x 156mm (3mm bleed on each side).
5. Text: Convert to Outlines
Before submitting your artwork, convert all text to outlines (or curves). This process turns text into vector shapes, ensuring that font formatting remains intact regardless of the computer or software used to open the file.
- In Illustrator: Select all text, then go to Type > Create Outlines
- In Photoshop: Rasterize or flatten text layers
- For PDF exports: Ensure fonts are embedded or outlined during the export process
Why? Missing fonts can cause unexpected substitutions and alter your design’s appearance.
Bonus Tips:
- File Naming: Use clear and descriptive file names (e.g., “Game_Box_Top_Final.pdf”) to avoid confusion.
- Dielines: Provide a separate layer or file for dielines if applicable, using a distinguishable spot color (e.g., magenta) and set to “non-printing” if possible.
- Layers: Flatten layers before submission unless instructed otherwise, and remove any hidden or unused layers.
- Proofing: Review your design at 100% zoom and print a mockup if needed to verify alignment and bleed.
Final Checklist Before Submission:
- File format: AI, PSD, or Print-Ready PDF
- Color mode: CMYK
- Resolution: 300 DPI or higher
- Bleed area: 3–5mm included
- Text converted to outlines
- No missing links or fonts
- Dieline clearly marked (if applicable)
- Safe zones respected
Following these artwork and design guidelines ensures a smooth and efficient production process, and ultimately leads to a visually impressive final product. If you have any questions or need templates for your specific board game project, don’t hesitate to contact our design team.