Choosing the right size for your game box is one of the most important steps in game production. The box is the first thing your customers see — it influences perception, shelf appeal, cost, and storage practicality.
Yet, determining the correct box size isn’t just about aesthetics; it’s a matter of efficiency, logistics, and design harmony.
Table of Contents
1. Why Box Size Matters
Your game box serves multiple purposes: it protects the components, attracts attention, and communicates value. Choosing the wrong size can lead to a number of issues:
- Too large: wasted space, higher shipping costs, and potential damage from components shifting.
- Too small: cramped components, damaged cards, or a frustrating unboxing experience.
- Imbalanced proportions: awkward shelf presence or unprofessional aesthetics.
The right box size should perfectly balance practicality, protection, and presentation.
2. Start with the Game Components
The first and most critical step in determining box size is to analyze the contents of your game. Every component directly influences the box dimensions.
a. List All Components
Start by listing everything that goes inside the box:
- Game board (folded size)
- Cards (standard or mini)
- Tokens, coins, or meeples
- Dice or spinners
- Player boards
- Rulebook
- Plastic trays or inserts
Measure each component’s length, width, and height, and note how many of each you have.
b. Calculate Total Volume
Next, calculate the approximate total volume required to hold all components. A simple way to estimate this is to group similar items:
- Cards: stack height × card dimensions × number of decks
- Tokens: grouped in zip bags or trays
- Game board: folded dimensions
- Dice and miniatures: estimate the volume of each and multiply by the quantity
This helps you visualize how much internal space is needed before adding padding, inserts, or extra room for easy packing.
c. Include the Insert or Tray
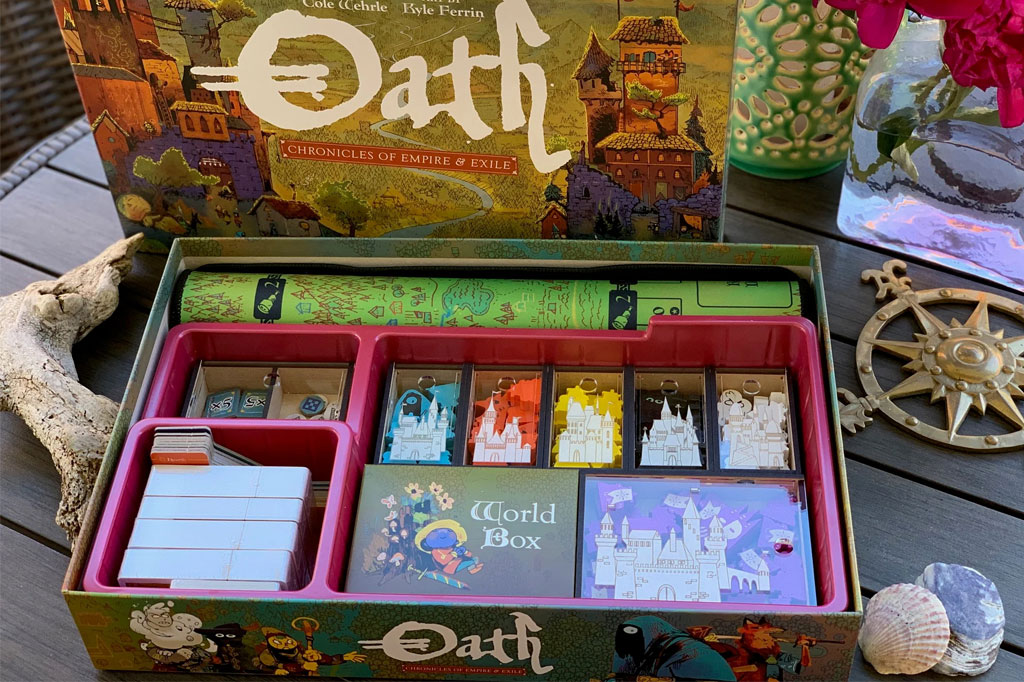
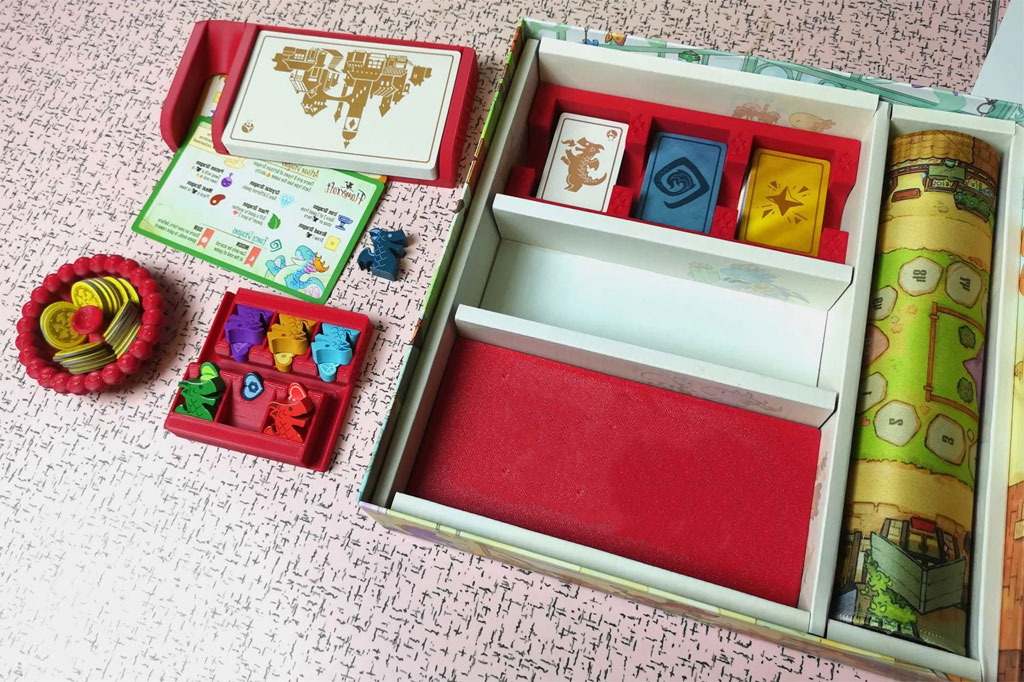
Don’t forget about the insert, which organizes and protects components. Inserts (plastic, paperboard, or foam) often add 10–30% extra height to the box. If you plan to include a custom insert, discuss this early with your manufacturer to adjust the internal box height accordingly.
3. Choose a Suitable Box Type
Different games call for different box styles. Here are the most common game box types and how they affect dimensions:
| Box Type | Description | Common Use | Example Dimensions |
|---|---|---|---|
| Two-piece (lid & base) | Classic box with detachable top lid | Most standard board games | 30×30×7 cm |
| Book-style box | Opens like a book with a magnetic closure | Premium or deluxe games | 28×20×5 cm |
| Folding carton | Thin, single-layer box | Small or card-based games | 12×9×3 cm |
| Drawer box | Slide-out tray style | Collector editions | 25×25×6 cm |
| Tuck box | Simple folding box | Single decks or mini-expansions | 9×6×2 cm |
Choosing your box type early ensures the rest of your design process — artwork, inserts, and packaging — aligns smoothly.
4. Account for Board and Card Sizes
Certain components have industry-standard dimensions. Designing around these standards helps keep costs low and ensures compatibility with printing and cutting tools.
a. Common Board Sizes
- Small folding board: 18×18 cm (folded)
- Medium board: 30×30 cm (folded once)
- Large board: 50×50 cm (folded twice)
b. Common Card Sizes
- Mini (44×63 mm) — compact decks
- Standard (63×88 mm) — typical playing card size
- Tarot (70×120 mm) — larger cards for premium designs
Use these as baselines when planning your internal layout. The box should comfortably fit these standard sizes with enough margin for air space and inserts.
5. Allow for Spacing and Protection
A perfect fit is not always ideal — you need buffer space to avoid component damage during packing or shipping. Here’s a good rule of thumb:
- Add 3–5 mm extra space around components inside inserts or trays.
- Add 10–15 mm total to internal dimensions for air gaps.
- For larger boxes, add extra height for protective foam or cardboard support.
If your game includes delicate miniatures or resin pieces, you may require custom foam inserts, which further influence the total box height.
6. Consider Practicality and Portability
While large boxes can look impressive, they can also be inconvenient for players to store or carry. A good rule is to aim for the smallest box possible without compromising usability.
Ask yourself:
- Will players carry this to events or travel with it?
- How much shelf space will it take?
- Does it fit standard retail display shelves (usually 30 cm width limits)?
A well-optimized box not only reduces material and shipping costs but also makes the product more user-friendly.
7. Balance Aesthetics and Branding
The proportion and silhouette of your box strongly affect how it looks on the shelf. Here are some design guidelines:
- Square boxes (e.g., 30×30×7 cm): Best for mainstream family or strategy games.
- Rectangular boxes (e.g., 27×19×6 cm): Great for compact card or story-based games.
- Tall boxes (e.g., 25×25×10 cm): Create a sense of premium quality or deluxe editions.
Ensure the box proportions complement your cover art and logo placement. A well-proportioned design gives a balanced and professional appearance.
8. Don’t Forget Shipping and Storage
Shipping and warehouse logistics play a huge role in box sizing decisions, especially for large-scale production.
a. Optimize for Shipping Cartons
Design your game box dimensions so that multiple boxes fit efficiently into master cartons without wasted space. For example, if a master carton is 60×40×40 cm, consider box sizes like 30×20×10 cm to fit 4 units per layer neatly.
b. Weight and Durability
Heavier games (above 2 kg) require thicker cardboard (2.5–3 mm) and reinforced edges to avoid crushing during transport. Oversized boxes also need extra reinforcement or double-wall construction.
9. Prototype and Test Fit
Before finalizing, always create a prototype box. This can be a white mock-up made from sample board material. Use it to:
- Test how all components fit together
- Evaluate space efficiency
- Check the insert or tray alignment
- Simulate player unboxing experience
Testing helps you avoid costly resizing or design adjustments after mass production begins.
10. Standard Game Box Sizes (for Reference)
Here are some popular box sizes used in the industry to help you benchmark:
| Game Type | Example Box Size (cm) | Example Games |
|---|---|---|
| Small box | 12×9×3 | Love Letter, Coup |
| Medium box | 20×20×5 | Codenames, Azul |
| Standard square | 30×30×7 | Ticket to Ride, Catan |
| Large box | 35×30×10 | Gloomhaven, Twilight Imperium |
| Card deck box | 9×6×2 | Standard playing cards |
These are not strict rules, but using them as reference points ensures your game aligns with common retail expectations.
11. Collaborate with Your Manufacturer Early
Manufacturers and box designers have extensive experience optimizing game packaging. Early collaboration can help you:
- Adjust dimensions to fit standard material sheets (reduces waste)
- Ensure the insert and box align perfectly
- Confirm tolerance for the lid and base fitting
- Avoid costly resizing during production
If you’re using a custom game box manufacturer, share your component list, layout sketches, and preferred materials early in the process.
Conclusion
Determining the right size of a game box is both a science and an art. It requires balancing the practical (component fit, shipping, durability) with the aesthetic (design appeal, brand presentation).
The key steps are:
- Measure all components carefully.
- Choose a box type that fits your product category.
- Allow extra space for inserts and protection.
- Consider storage, shipping, and visual impact.
- Prototype before mass production.
With thoughtful planning and close collaboration with your manufacturer, you can create a game box that not only protects your components but also enhances your game’s identity, shelf appeal, and overall success.